Biker pro presets lightroom Any serious biker/photographer would agree that in the realm of photography, post-processing for photographs taken mostly to capture the thrill and adrenaline associated with biking requires a special set of editing tools. Lightroom Pro Biker Presets are designed for highlighting the dynamics and ruggedness of biker photography, thus allowing photographers to bring out the best of their shots in just a few clicks. Whether you’re a professional photographer or a biking enthusiast who likes to capture his experience, these presets are sure to make your photos stand out. In this article, we will explain what Lightroom Pro Biker Presets are, how they can drastically improve your images, and where you can download them for free.
Lightroom Pro Biker Presets?
The Lightroom Pro Biker Presets are Lightroom settings developed beforehand that can be applied to your images in Lightroom in order to give your photographs a particular look, complexion, or style. These features have been made with a lot of careful consideration to show the bold, high-contrast, gritty aesthetics that bike cultures are mostly linked to. Apply these presets to make your images polished and professional, showcasing increased energy and a rough, appealing edge in biking.
These presets are kind of broad adjustments within Lightroom that include exposure, contrast, shadows, highlights, color grading—the works. This effect is dramatic, enhancing your biking photos to make your shadows deeper, your details crisper, and your colors more alive, thereby capturing the spirit of the open road.
Why Use Lightroom Pro Biker Presets?
In the same regard, Lightroom Pro Biker Presets are at your fingertips, with a myriad of benefits that will support the emerging photographer in you:
1. Save Time
Editing photo by photo is very time-consuming, especially when you capture a huge collection from a biking event or even a trip. Using presets gives you the ability to have a consistent look throughout all of your pictures in less than half of the time you put into editing. This allows you more time to focus on capturing new moments rather than spending hours on post-production.
2. Achieve Professional Results
Being made by professional photographers—who know what makes biker photography—it is through utilizing these presets that even the totally inexperienced person who endeavors into photography can be able to develop a polished and professional look that would take years of experience away.
3. Consistency in Style
This leads in very nicely to consistency, which is another huge point when developing that recognizable style in your photography. It could be a portfolio, social media, or just a photo book—having a cohesive editing style really gives that unified and professional look. With Lightroom Pro Biker Presets, all your photos will definitely have a consistent visual tone, making your work instantly recognizable.
4. Enhance the Biker Aesthetic
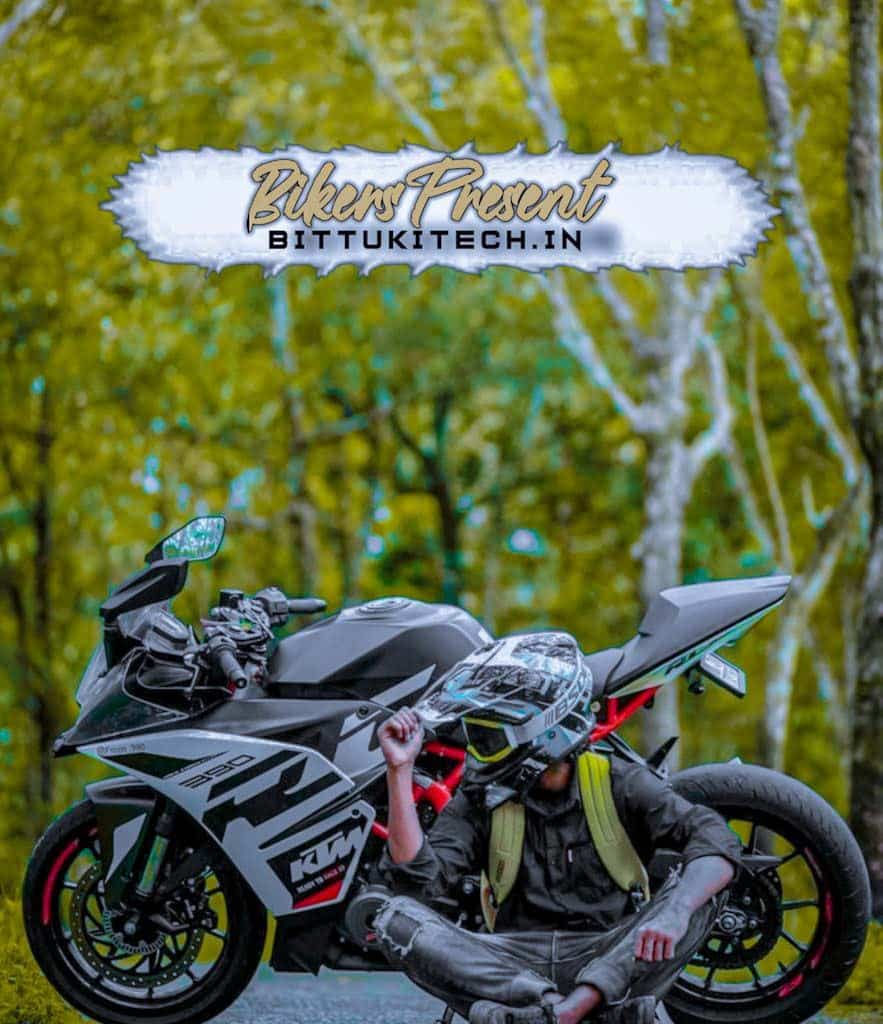
From rugged landscapes to high-speed action shots, through to the raw beauty of the open road, biker culture is captured in these photographs. Lightroom Pro Biker Presets are tailored to bring out textures, colors, and contrasts that define this unique genre of photography.
How to Download Lightroom Biker Presets for Free
Want high-quality free Lightroom biker presets? It could be challenging, but you can download some from a few reliable sources. Here’s how you can get them:
1. Search on Photography Forums
Many photography communities and forums share presets. Places like Reddit and PhotographyTalk have threads related to sharing presets; some of those are specifically created for Lightroom presets a biker photographer would want to use.
2. Explore Creative Marketplaces
While some sources, like Creative Market, offer premium presets, they do have free downloads—mostly as part of promotions or bundles. Always keep an eye out for those kinds of deals that sometimes feature high-quality biker presets.
3. Follow Influencers and Photographers
Some pros and influencers give away Lightroom presets for free to their followers. This could be on Instagram or YouTube. For the most part, you just need to subscribe to their channel or follow them on social media to get access to their presets.
4. Visit Photography Blogs
Many photography blogs offer their readers free Lightroom presets as part of their content. Websites such as PresetLove and Photonify have free downloads you can use in your biker photography.
5. Use Adobe Exchange
The company that developed Lightroom, Adobe, has an internal store of its own called Adobe Exchange, where from time to time, some free presets are released by the Lightroom community. Usually of high quality, these go directly into your Lightroom software.
Installing and Using Lightroom Biker Presets
Once you have downloaded your presets, it is time to get them into Lightroom and apply them to your photos. Here’s a simple guide:
1. Importing Presets
- Open Adobe Lightroom.
- Go to the Develop module.
- On the left panel, find the Presets section.
- Click the + icon and select Import Presets.
- Navigate to the location where you saved your downloaded presets and select them.
2. Applying Presets
- After importing, the presets can be found in the Presets panel.
- Open any photo in Lightroom, which you desire to edit.
- To apply the preset, just click— and see how, in a flash, the magic of the preset is applied to your photo.
- And, of course, if necessary, carry out additional final settings.
3. Adjusting Presets
While presets can give you a really nice starting point, sometimes you may need to correct it a bit depending on the lighting of your original photo. Don’t be afraid to fine-tune exposure, contrast, or color balance to perfect your shot.
Biker pro presets lightroom free download
While there are plenty of presets available, some of the greatest and most influential in biker photography include:
- Dark & Gritty: Perfect for capturing a biker rally’s raw energy or that moody night ride atmosphere.
- Vibrant Colors: Enhance natural hues in your surroundings, from greens of forests to blues of skies, with a touch without losing that rugged feel of the bike.
- Black & White: Provides a classic look to the picture and enhances the contrasts and textures in your image.
Biker pro presets lightroom
Conclusion
If you are a biker photographer looking for better results, then Lightroom Pro Biker Presets are a must. They not only save you a great deal of time but also provide professional results and uniformity in your portfolio. Best of all, many of them are absolutely free, so it has never been easier to take your photography to the next level. Whether you want to convey the adrenaline of the ride or the serenity of the landscape, these presets are designed for you to tell your story with impact.
FAQ
What is Lightroom presets format?
All Lightroom presets must be saved as . xmp files. You may also include . lrtemplate files
How to use Lightroom presets for free?
Installation Guide for Lightroom Mobile on Android devices
Start your Lightroom application and select an image from your library. Go down to the Botton of the toolbar and press the Presets tab to the right. Press the three dots icon and select Import Presets.
How do I use downloaded Lightroom presets?
How do I use downloaded Lightroom presets?
You can use the newly added presets on your photos by following these steps:
Open the photo to which you wish to apply the preset. Tap the Presets panel at the bottom of the screen.
Tap Yours and select the Preset Group in which you saved your new preset. …
Select the preset and tap icon to apply the preset.
How to apply presets to all photos in Lightroom?
Use the various editing tools and sliders in Lightroom to further refine the look and feel of your image. If you want to apply the same preset to multiple photos, you can easily do so by selecting all the images you want to edit in the Library module and then right-clicking and choosing “Sync Settings.”